See also: Van Layout | DIY Mini Projects
Mm
Our van, like many others, has overhead storage cupboards fitted above the windows.
The cupboards at the rear of the van, above our bed, are used for storing clothes – HIS on the right, HERS on the left.
The cupboards above the galley are less deep, and used for storing kitchen cleaners, sun protection cream, etc.
Adding some aluminium rails to these cupboards has made them far more user-friendly……
Rear Cupboards – Clothing Storage
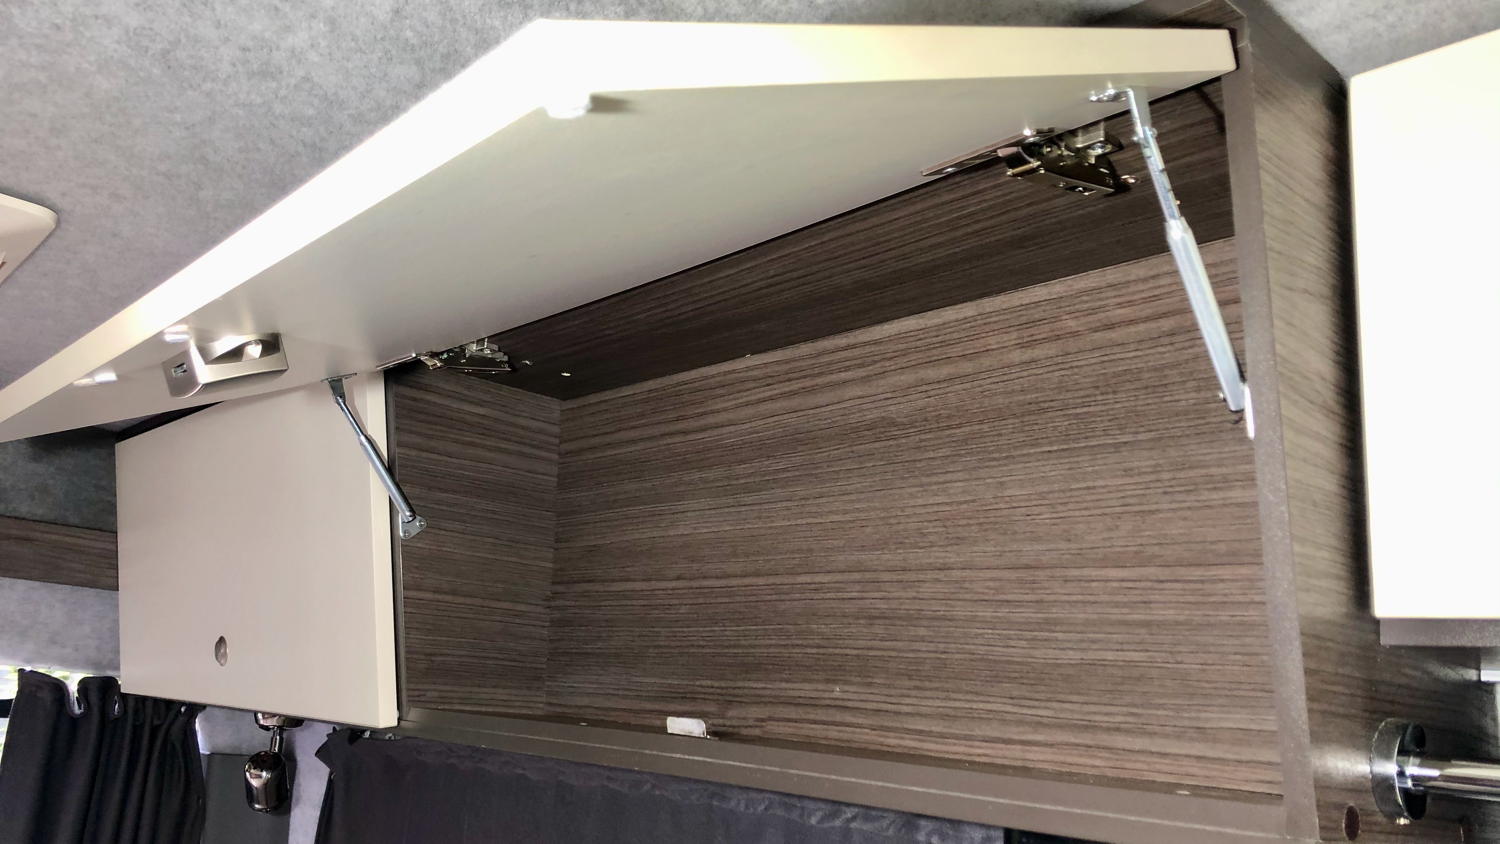
These cupboards are ‘tapered’ in depth – deeper at the top and less deep at the bottom – to provide more living space at head-height in the van.
They can store all the clothes we need for an extended holiday. All neatly folded and stacked.
But often we would open the cupboards and the stacked clothes would auto-empty onto the bed below!
And of course, even when the clothes stay in the cupboard, the shirt that you want is always at the bottom of the stack, and removing that one shirt de-stabilises the whole pile, which usually ends up falling from the cupboard.
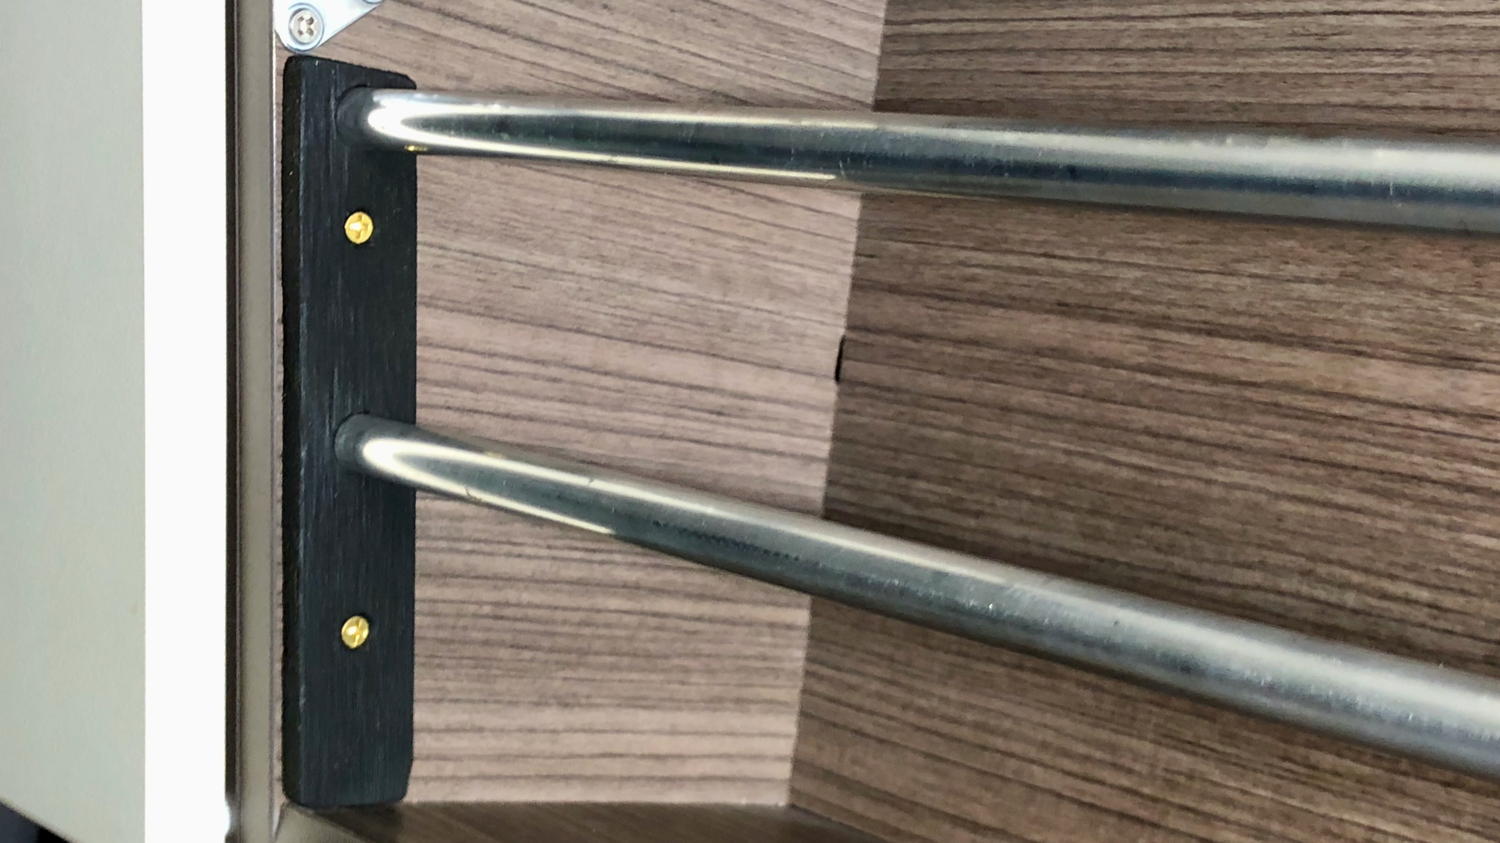
So, off to the local hardware store for materials to build some holding rails in the cupboard opening – 12mm aluminium tube, 9mm marine ply, countersunk stainless steel screws, and a can of matt black paint, or whatever colour suits your decor.

Cut the aluminium tube to the width of the cupboard opening – less a mm or two – two rails per cupboard.

The plywood is drilled with two 12mm holes to accommodate the aluminium rails, along with a couple of screw holes, then cut to size to form a gusset that fits inside the cupboard end walls – fitting in much the same way as a shower curtain rail (remember those?).
The exact height of the rails depends on the height of the cupboard and the location of the hinge mounts.
|
Hint – Mark out the shapes of the gussets on the ply, but don’t cut the shapes until after the holes are drilled. This makes it easier to hold the ply while drilling. Drill the rail holes with a 12mm speed bore, rather than a regular drill bit. Using a piece of scrap timber as a backing board, drill half way from one side, then finish from the other side to avoid splitting the surface veneers. |
We set the top rail at about centre height, and split the space below the centre rail with the lower rail. We haven’t found a need to add a rail above the centre rail.
Now, to start packing….
With all clothes stored securely behind the rails, they stay there. Even when that elusive must-have T-shirt is eased from the bottom of the stack!

Though I do often wonder why I pack so many clothes, when I end up wearing the same two T shirts and pairs of shorts the whole holiday!
Galley Cupboards
The smaller cupboards above the kitchen bench required just one rail….
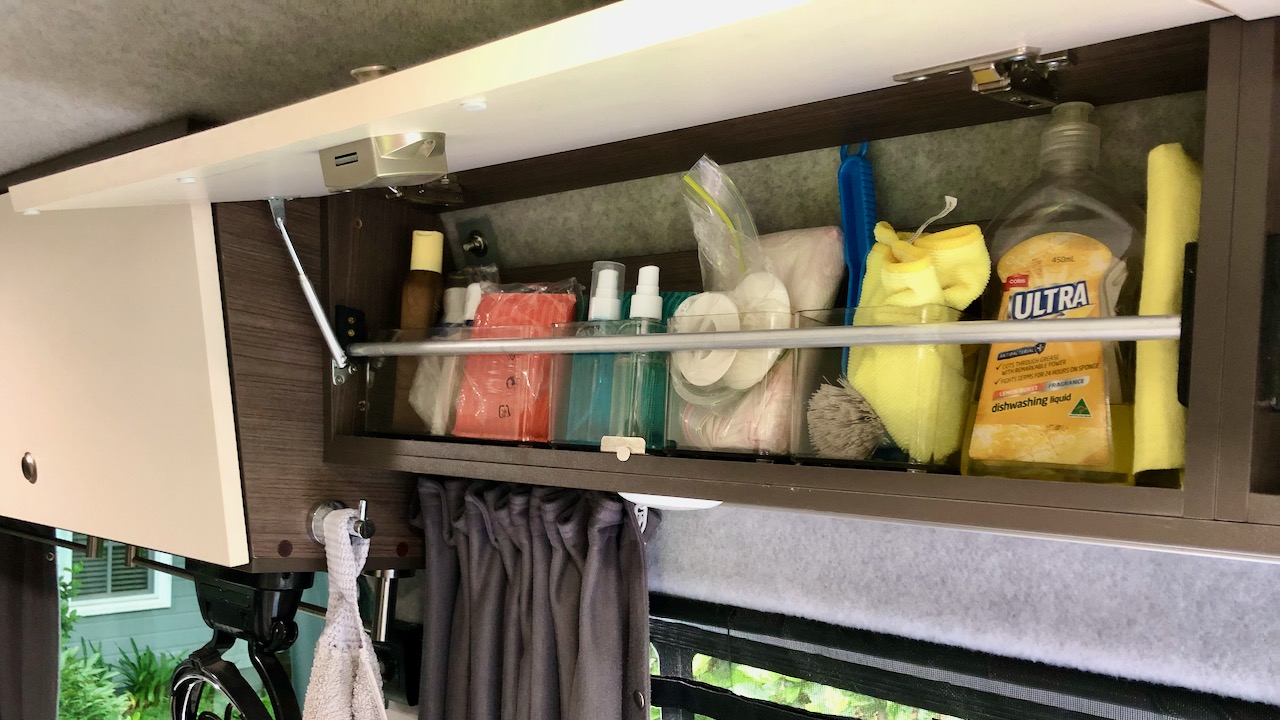
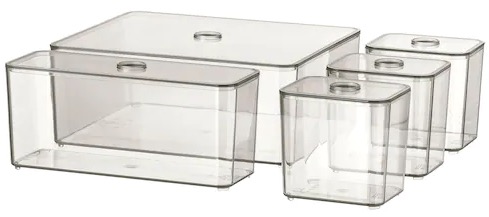
To keep things better organised in these galley cupboards, where we are more likely to store bottles and other containers, we have fitted the rails at an appropriate distance from the rear wall of the cupboard to neatly hold some bathroom organising containers that we spotted at IKEA ($10). Just the right size to hold all our kitchen cleaners, sunscreen tubes, and various other bits and pieces.
See also: Van Layout | DIY Mini Projects