<<< Installing an Inverter in our Campervan
|
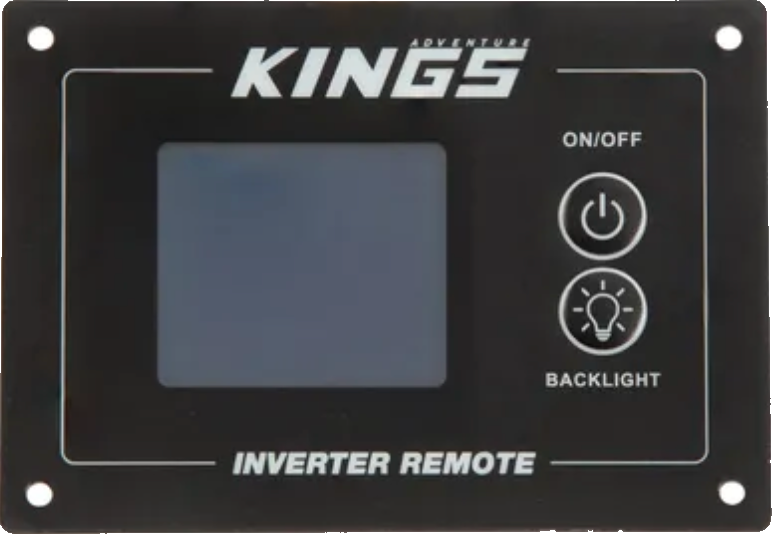
The new Kings remote switch is designed to work with the latest Kings inverters, and considering the cost and functionality of this new switch (~$30) it isn’t worth fiddling around with a DIY option. The new switch also includes a digital display and a backlight control switch – ideal for use in a Campervan environment. (The only downside, particularly for Motorhome and Campervan owners, is that it is supplied with only a 3 metre cable.)
|
See also: DIY Campervan Mini Projects | DIY Kings Battery Monitor in a Battery Box
Watch the video….
Shop the Kings remote switch >>>
|
|
SAFETY REMINDER The 230V AC output from an inverter is just as potentially lethal as the output from a domestic power outlet. Any cabling or modifications on the 230V side of the inverter must be carried out by a qualified electrician. |
|

Archive: Old Kings Inverter switch info >>>