<<< DIY Campervan Mini Projects
 Getting the Buzz
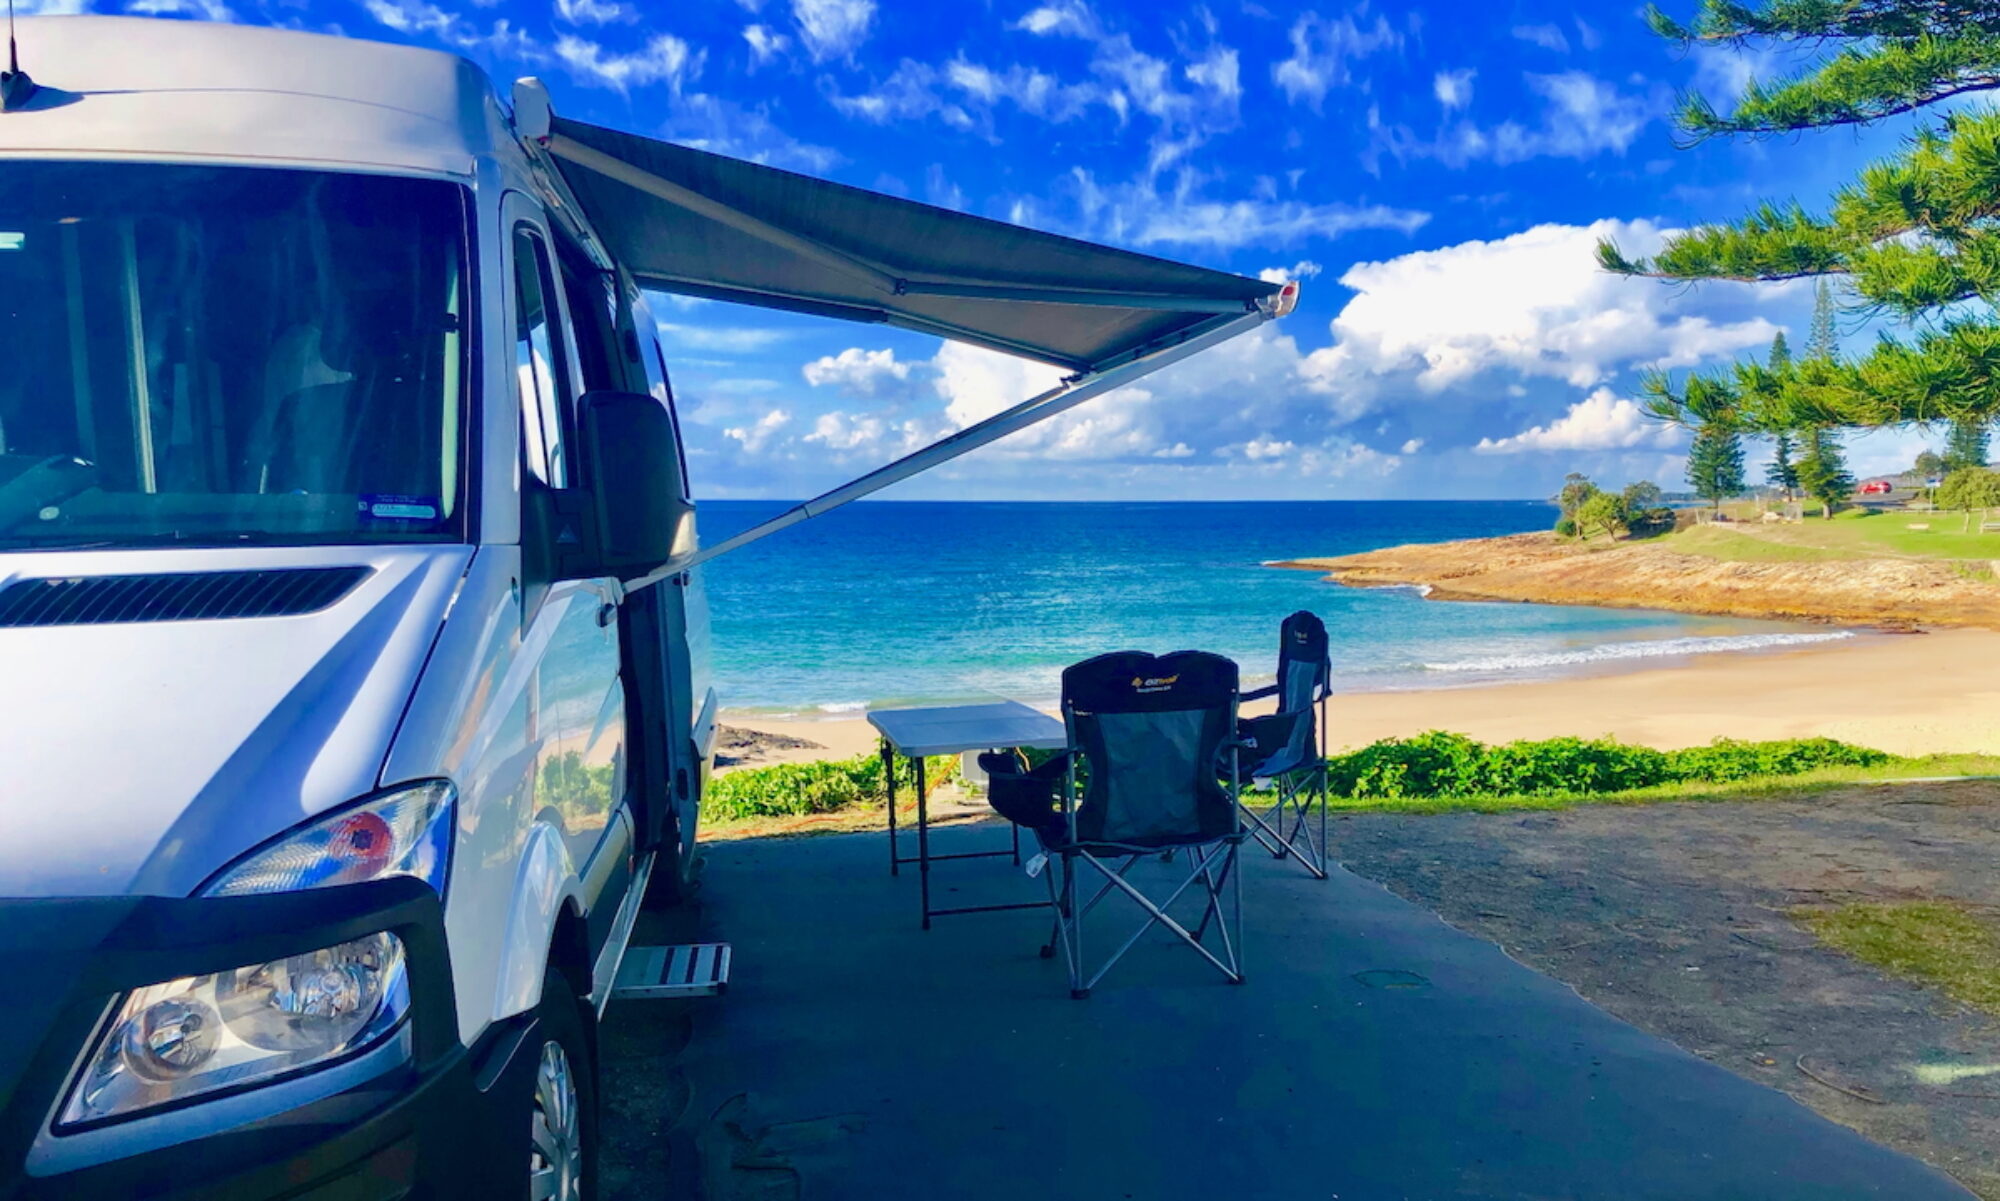
When camped along the coast, we haven’t had too many problems with insects inside the van. A sea breeze usually keeps the insects at bay. The occasional fly or mosquito inside the van is relatively easy to deal with.
Once we get away from the coast, especially in hot summer weather, flies can become a problem, unless we keep all the doors closed – which we don’t really want to do when the temperature starts to climb. Ditto for mosquitos as the wind drops just on dusk.
Even with no insects around, the screens provide good indoor privacy without needing to shut yourself in the van.
So, with plans coming up for a few trips away from the coast, we went shopping for insect screens.
Screen Options
There are a variety of different screens available. Choices to be made when choosing your screens include:
-
- zippers vs magnets to open and close the screens;
- custom-made screens to suit particular van model doors;
- custom-made screens to suit particular furniture layouts;
- ‘regular’ mesh vs extra-fine ‘midge-proof’ mesh.
We chose zippered insect screens with regular mesh, purchased from Southern Cross Campervans. They make a side door screen that is designed specifically for Sprinter vans that, like ours, have the kitchen located directly inside the sliding door.
Their three panel (two zipper) screen provides the option of rolling up the screens when insects are not a problem – opening only the walk-in entry panel (the default option), or the entire screen when using the cooktop on the kitchen bench….

We looked at screens with magnetic closing options (rather than zippers) but came to the conclusion that the zipper option was more ‘secure’ and durable over time, especially when being repeatedly rolled up. Nor were we able to find magnetic screens with the three-panel design to suit the sliding door / kitchen area of our van.
The rear screen inside the barn doors also has twin zippers to enable opening of the centre section. We leave the centre section rolled up most of the time. There is no entry / exit function requirement on this rear-door screen – only rolled down if the rear doors are left open.
So far, so good with the zippers.
Fitting day
The screens are held in place by the rubber door seal. No screwing, gluing or other permanent fixing required.
Fitting the screens is a reasonably straightforward DIY project – remove the rubber seal around the door opening, hold the screens in place, then refit the rubber seal to clamp the screen mesh between the rubber moulding and the metal door frame.
It took us a couple of hours, which included a removal and refit of the screen – once we figured out a better way of refitting the rubber moulding: starting from the bottom rather than the top.

While it might be possible for one person to fit the screens, with the assistance of clips or pegs to hold the screen in place while refitting the rubber seal, two people makes it a much easier job.
Tips for fitting
The instructions included with the screens from Southern Cross / VANtastic are very good. I will emphasise the importance (as detailed in the instructions) of marking the rubber seal and its alignment in the door opening before removing it….
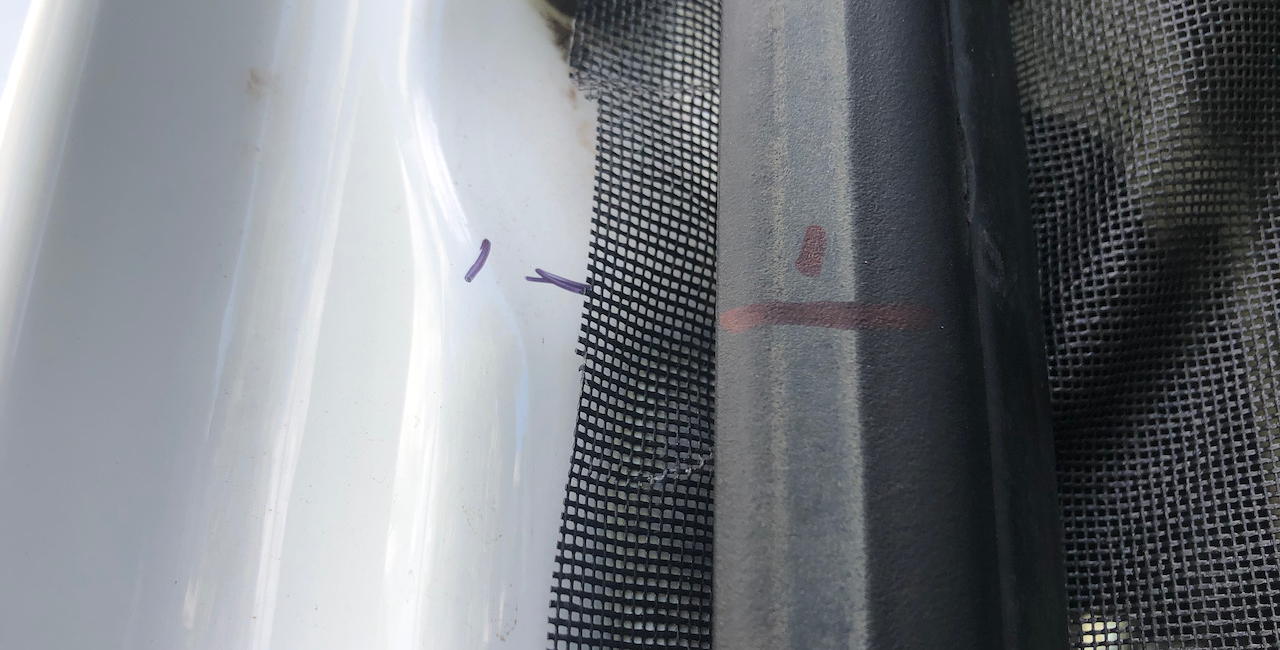
We made alignment markings at the corners, the top, and on each side of the opening. This makes for much easier re-alignment when re-fitting the rubber seal.
The clips included with the screen installation package are helpful to hold the screen in place while re-fitting the rubber seal. If you have some heavier ‘bulldog clips’ they may be a better option to hold the screen in place more securely. However, a second set of hands is highly recommended, along with a milk crate (or similar podium) on which to stand to reach the top of the door opening.
Of course, you only need to remove the rubber seal from the top and sides of the door opening – no screen is fitted at the bottom of the opening.
We found that by first aligning the bottom of the screen with the door opening, then re-fitting the rubber seal from the bottom up, we were able to preserve the alignment of the screen with the bottom of the opening. This way you don’t end up with a large gap at the bottom of the screen, as the re-fitting of the rubber door seal can pull the screen up higher.
We also gave the top of the screen plenty of ‘slack’ by physically pushing the screen up inside the metal flange, before pushing the rubber seal into place, so that the seal-fitting process across the top of the opening doesn’t pull the screen up to the top of the opening, thus creating a gap at the bottom of the opening.
A wooden mallet was helpful in fully re-seating the rubber door seal – and saved the palm of my hand and the side of my fist from a great deal of pain!

Once the screen is ‘roughly’ in place, move around and adjust the seal and screen alignment to remove as many lumps and bumps in the screen mesh as possible, ensuring the screen is taut without being too tight. Of course, all fitting and adjusting should be done with the zippers fully closed.
After fitting, excess screen material can be trimmed from around the rubber door seal, though we have not yet trimmed it too close until we check that no more adjustment is required.
On the Road
The screens perform exactly as expected in keeping out flying insects. An added bonus that we have discovered is how well these screens perform as privacy screens – being able to relax inside with the doors open, without others being able to easily view us inside the van.