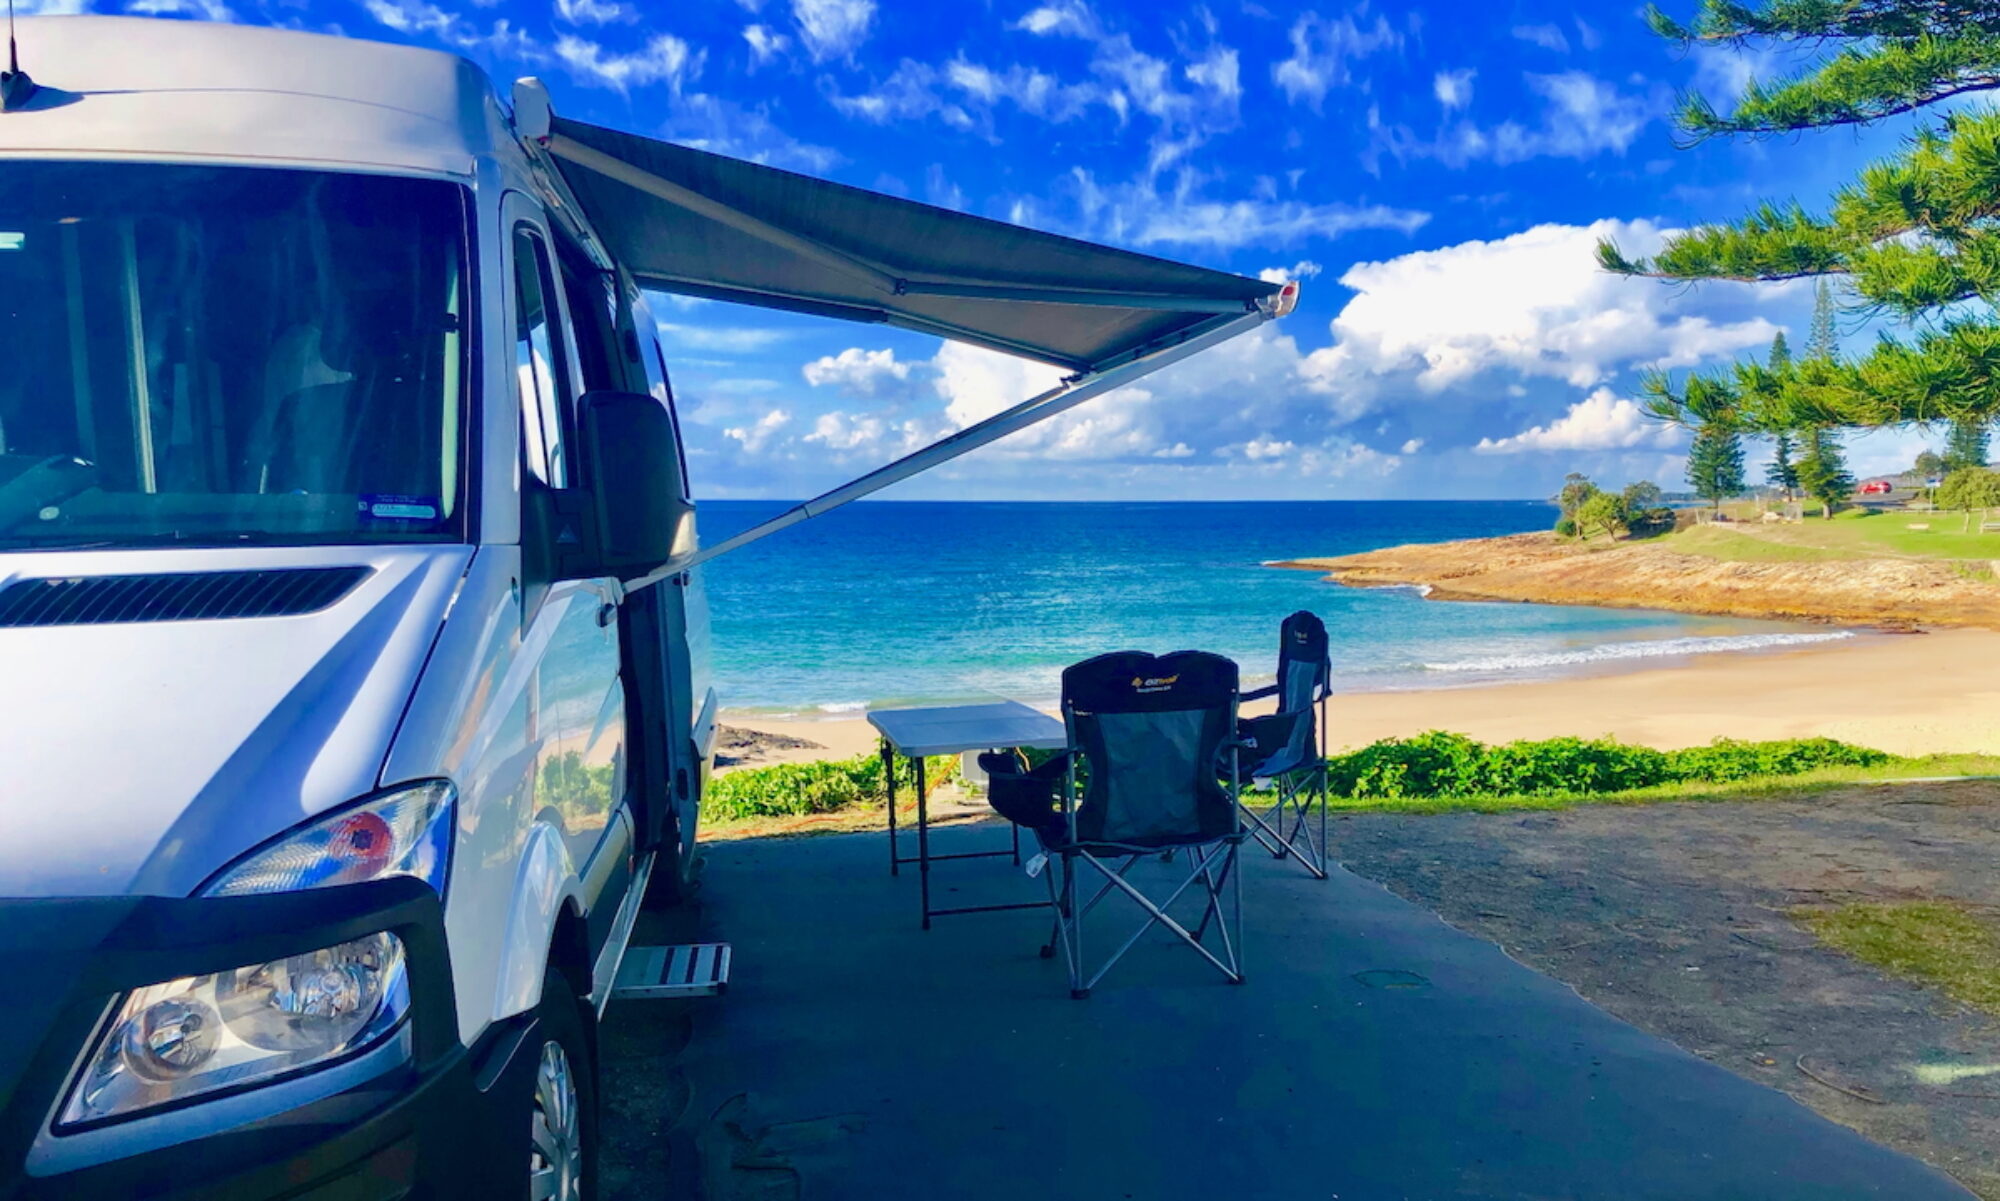
<<< DIY Campervan Mini Projects
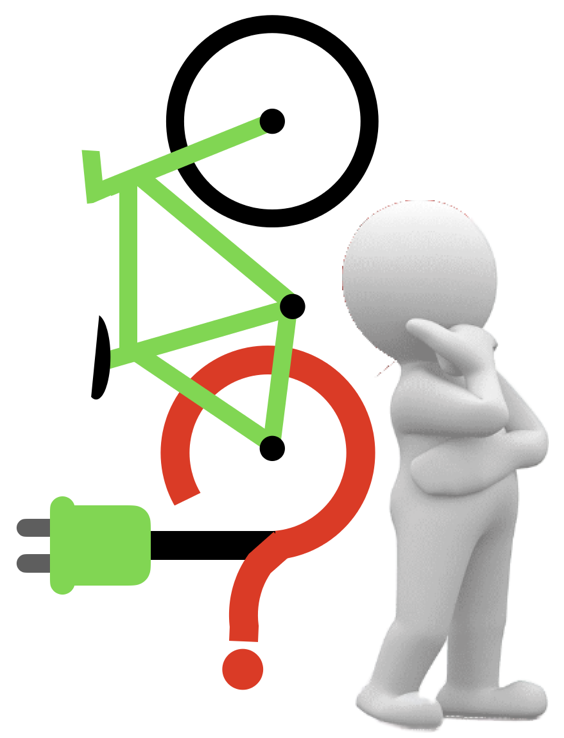
Not strictly a Campervan DIY project, but we know that many in the Campervan community have been exploring e-Bike options – including us!
Weight and cost restrictions saw us head down the DIY e-Bike path. This page is a summary of our DIY e-Bike installation and riding experience.
See also: Kiama Bicycle Users Group >>>
e-Justification
We cycle regularly to help maintain a level of health and fitness – along with enjoying some social interaction with a wonderful group of fellow cyclists.
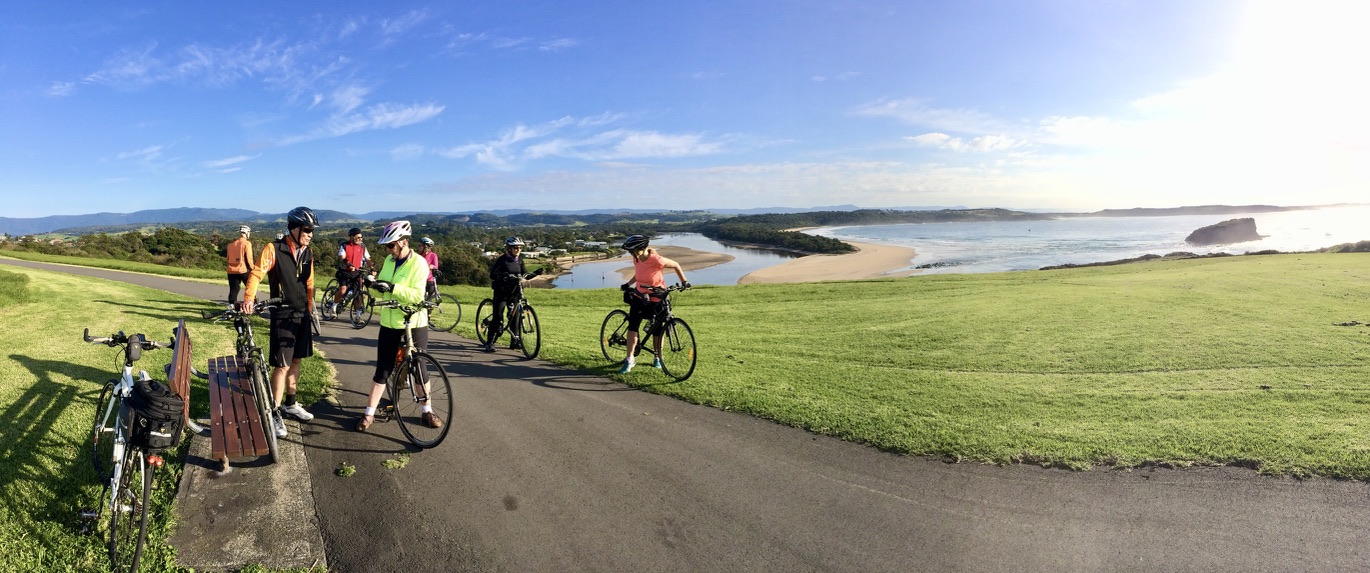
Amongst our friends we have been the hold-outs on moving to bikes powered by battery electrons rather than leg muscles.
After all, a major reason for cycling is exercise – why go for a ride where there is no energy expended? No muscles pumped? No cardiovascular huffing and puffing?
Another practical factor that has deterred us from moving to the world of electron-powered cycling is the weight of most of our friends’ e-Bikes – around 24kgs!
Our campervan has a bike rack fitted to the back doors – but it has a 35kg weight limit. Not enough capacity for 2 x 24 kg e-Bikes.
Recently we began considering a compromise e-option – fitting our carbon-frame road bikes with a hub motor and battery, so that they could still be ridden as ‘regular’ bikes most of the time, but with an option to push a button for a little battery-boost on that long climb, when all those riding with us (on their e-Bikes) take off into the distance.
Incorporating a battery and hub motor on our regular bikes provides an e-Boost to our pedaling when required, without a dramatic increase in weight.
Taking the e-Plunge
There is no shortage of e-Bike conversion options – it doesn’t take too much Googling to discover the wide range of kit options that are out there…
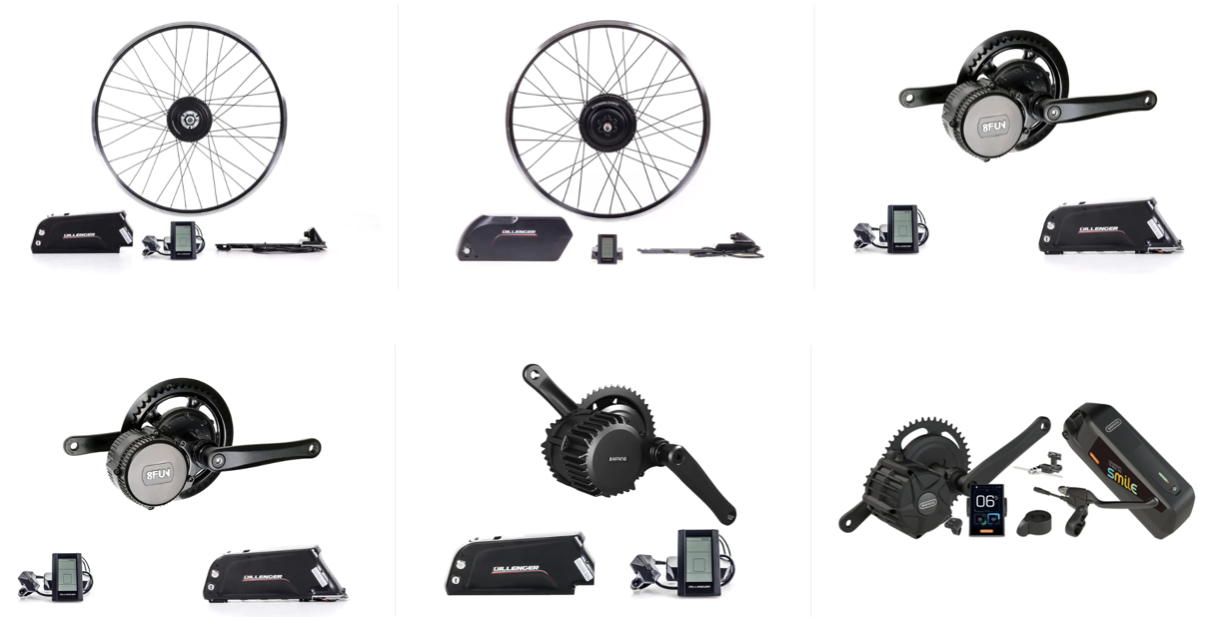
You have a choice between a central crank motor, or a wheel hub motor. Some are outrageously powerful, others more modest. Cost is generally around $800 – $1500 (AUD) for the full kit, plus the time, tools and know-how to install all the bits and pieces.
After weighing up all the options, we chose a Swytch conversion kit from the UK….
-
- It is a neat all-in-one kit;
- Powered by an easy-to-fit front wheel hub motor;
- Has a relatively small battery footprint (that doesn’t consume frame/tube space);
- Adds only 3.5kgs to the weight of the bike (with MAX battery);
- Has received plenty of positive performance reviews (less so for support!)
If you sign up to the Swytch waitlist, and don’t mind waiting a few months for delivery, you will receive a significant discount off ‘full price’.
We purchased our kit with three optional upgrades…
-
- MAX battery
- OLED display
- Matte black wheels
All of which pushed up the price from the original base level to around $1500 AUD, including delivery. Another factor affecting the cost (here in Australia) is the daily currency exchange rate.
We also fitted new tyres, tubes and disc-brake rotor to our new Swytch wheels – keeping the original wheels intact – so that we could easily swap back to the original wheel if required. Depending on your choice of tyre and brake rotor, add another $150. (Of course, if your budget is tight you can easily swap these items from your original wheel to the Swytch wheel. With hindsight, we should have done this – our original wheels haven’t been touched since we installed the Swytch kit.)
-
-
- Other DIY e-Bike options: Cap Rouge | Dillinger | Boost Bike
- Off-the-shelf e-Bike (with similar specs): Merida eSpeeder 400
-
Ordering and delivery
-
We put our names on the Swytch waitlist in early September.
- We ordered our kits and made a deposit payment in mid-September.
- We confirmed our order, finalised our customisations (control/display unit, wheel colour, battery size) and made the balance payment in November.
- Our kits arrived at our front door the following March.
Installation
There are four parts to the Swytch kit:
-
- Front wheel with hub motor (250W, 40Nm);
- Battery & handlebar mount (MAX battery: 180Wh, 5Ah);
- Control / display module (OLED);
- Magnetic crank disc and pedal sensor.
From our experience, don’t expect that the installation procedure will be the simple “1 – 2 – 3” jaunt as suggested in the promotional video above!
Front wheel & hub motor installation
The Swytch hub motor is supplied pre-installed on a wheel to suit your bike. When ordering your Swytch kit you specify the size of the wheel, and the colour – silver or matte black (extra cost).
Our bikes were originally fitted with quick-release spindle axles. The Swytch wheels with the motor fitted have a solid axle shaft, held to the forks with hexagonal nuts (17mm spanner required).
Important note: The Swytch motor wheel requires 100mm space between forks, and is not compatible with thru axles – more info >>>
On one of our bikes the axle needed a light file on the flats to fit into the dropout slot in the forks.
On the second bike a more severe adjustment was required, taking around 0.5mm off the flats on each side of the axle for it to fit in the dropout slots. The slots were 9mm wide, while the Swytch axle is 10mm across the flats.
The axle has to be a precise fit in the dropout slots, but still able to be easily removed when on the road, in case of a flat tyre.
Note 1: The Swytch manual specifically states to not file the axle to get it to fit in the dropout slots, but to contact Swytch support if faced with this issue.
We contacted Swytch support as advised, and after waiting two weeks (!) we received an emailed response, with a reference to the video below, describing how to (you guessed it) file the axles to fit the 9mm fork dropouts (go figure!)….
Note 2: We haven’t fitted torque arms to our forks – steel supports designed to resist the motor twisting in the dropout slots. We are still exploring the need for this, though with the relatively low-power Swytch motor (250W / 40Nm) and our use of only the low levels of e-Boost we don’t feel it is an urgent need.
Battery Mount
The fitting of the battery mount on our flat handlebars was straightforward. The mount sits far enough off the handlebar that it (just) clears the brake handles and cables, and the bike can still be upended and rested on the handlebar if required. (We both have flat bars on our bikes.)
The mount does consume a little handlebar real estate in the centre of the bar, so a few adjustments were required to re-accommodate lights, bell, Garmin computer, and the Swytch OLED display, etc.
Battery
While some of the Swytch kit components appear to be re-branded products similar to e-Bike conversion components available from other suppliers, the slimline battery appears to be unique to Swytch.
The handlebar-mounted battery was one of the Swytch attractions for us – preferable to a larger frame-mounted ‘bottle-battery’.
Swytch claim a range of 15 kms for the smaller and lighter Air battery, and 30 kms for the larger MAX battery, though I have not been able to find any measurement criteria for how Swytch calculate this range, other than that they use the ‘default’ settings – whatever they are.
As we have discovered through our test rides, the range of the MAX battery is much greater than 30 kms if the battery is used as we plan to use it – as a temporary ‘boost’ rather than for permanent power. (See test ride info below).
Control Display Module
We purchased the Swytch OLED control unit display as part of our order. This is an optional extra. (The Swytch display is a rebranded Bafang SW-102 display.)
The OLED display has a high contrast 33mm screen (diagonal) that is clearly visible in all conditions. It has a tempered glass screen and is fully waterproof with an IP65 rating.
The unit includes a speed display, with up/down touch buttons for five levels of assist, (plus a zero-assist level), as well as a trip odometer, trip time, average speed, and maximum speed (via the Menu button). The display can be reset for each new trip, but also maintains a cumulative tally of total distance travelled.
Various basic calibration settings can be changed here too, including wheel size and maximum boost speed.
Magnetic Disc and Pedal Sensor
This was the trickiest and most time consuming part of the installation. (It must be a challenge trying to design and manufacture something like this as a one-size-fits-all solution to suit every bike in the world!)
There are three parts to this puzzle….
-
-
-
- Fitting the rotating magnetic ring;
- Fitting the fixed pedal sensor;
- Getting the above two components perfectly aligned!
-
-
The Universal Magnetic Disc
The circular ring contains 12 magnets and fits onto, and rotates with, the crank. There are multiple options for fitting the disc to the crank – all depend on the circular disc being concentric with the crankshaft.
The only way we could get this disc to fit and rotate concentrically with the crank shaft on our bikes was to use the optional brush inserts. The diameter of our crankshafts was too large to fit the brush inserts as supplied, so we clipped all the small brush stems so the inserts were a neat fit on our shafts.
We also had to move the crank out on the shaft a millimetre or two, to make space for the disc on the shaft between the crank and the frame.
We rotated the crank slowly by hand, aligning the disc concentrically by eye – to achieve ‘parallel’ and vertically-aligned rotation – and then cable-tied the disc arm to the crank to hold it permanently in place.
Note: The Swytch manual suggests EITHER fitting the disc brush insert, OR strapping the disc arm to the crank. We found it necessary to use both the brush inserts AND the disc arm strapped to the crank to reliably maintain concentric rotation in the vertical plane.
The Pedal Sensor
The pedal sensor fits on the frame adjacent to the crank, detecting pedal rotation as the magnets on the disc pass by the sensor.
I am speculating that on an alloy tubular-framed bike the installation of the pedal sensor would be reasonably straightforward.
However, on our moulded carbon frames there weren’t any parallel surfaces around the cranks to provide an easy mount for the sensor to be aligned parallel to the rotating magnetic disc.
There certainly wasn’t enough space to fit the sensor between the frame and the disc on either of our bikes for a simple out-of-the-box installation (both Giant brand with carbon frames).
We ended up making some significant modifications to the sensor mounting mechanisms, including the fabrication of aluminium brackets to align the sensor in the correct position in relation to the rotating disc….
Aligning the Sensor and Magnetic Disc
This is where you may need to put your engineer’s hat on!
On Bike 1 we removed the pivoting mount bracket and ‘ears’ from the sensor (which is an option detailed in the Swytch video instructions) and glued it directly to a narrow aluminium plate (180 x 25mm) which was then cable-tied to the frame. This was the only way we could get the sensor to fit between the frame and the rotating disc.
(Both the above sketches are viewed from below the frame)
On Bike 2 we had even less space, so fitted a bracket (made from 30 x 20mm aluminium angle) to the underside of the frame, to hold the sensor adjacent to the rotating disc. There was simply no option to fit the sensor between the frame and the disc – no space and no straight surface.
Fortunately there was already a screw mount on the underside of the frame, holding an exiting brake cable – we were able to take advantage of this screw mount to secure our pedal sensor bracket to the frame, along with cable ties and silicone to hold it in position at the correct angle (after testing).
Bike 2 also required some modification of the crank – filing a small semi-circular recess to accommodate the hinge on the disc mounting mechanism, to ensure parallel rotation of the magnetic disc.
In a nutshell, there really is no easy or generic one-size-fits-all guide to the sensor mounting and alignment process – I expect the specific mounting details will be a little different for every bike.
The bottom line is to ensure the magnetic disc is rotating smoothly and concentrically, without any non-parallel ‘wobble’, and to mount the pedal sensor so that the red LED on the sensor illuminates as each magnet on the disc passes by. (This may take some fiddling and tweaking, depending on the geometry of your frame.)
Check the Swytch instructions and video and take it from there, modifying the procedure to suit your bike. Just don’t expect this to be a 5 minute job though!
Once we had it all aligned and tested, we applied silicone to the frame mounts of the brackets and fittings that we had added, then secured everything firmly with cable ties to ensure no further movement. (I expect it would only take a small mis-alignment of this sensor mechanism for the whole show to stop working.)
Making the Right Connections
All the electrical components – battery, pedal sensor, and display/controller – are connected together with cables that are terminated with neat colour-coded plugs. The plugs are a quality fit, and I expect they will be dust and water-proof.
Make sure you line up the arrows on each part of the plug, and that they are pushed together tightly – so you can’t see any of the inner coloured plastic.
Secure all the cables to the frame (or to other cables) with cable ties.
On the Road
With the installation saga behind us, and our butts in the saddle, the Swytch on-road experience is excellent.
We have five levels of boost, but after a couple of (mostly flat) rides we found ourselves setting the boost to Level 0, and riding the bike as a regular bike for most of the journey. As we approach a hill we can click up to Level 1 to start the motor – it only takes a turn or two of the crank for the motor to kick in – and it only engages while we are pedaling. No pedaling, no motor.
The Swytch kit has added around 3.5kg to the weight of each bike (wheel, motor, battery). The Swytch wheel hub doesn’t spin quite as freely as our original front wheels, but the rolling impact is minimal – barely noticeable when riding. For all intents and purposes with the Swytch display set to Level 0 the bike rides just as it did pre-Swytch.
While the battery-powered boost can obviously be of great assistance on a hill, we still prefer to put some effort into our propulsion, rarely clicking the boost above Level 1. That provides more than enough assistance for most of our rides.
We haven’t yet found a hill on our regular rides that requires Level 3, 4 or 5! (Though we have gone exploring a couple of steep hills in Kiama just to test the motor at these higher levels – and can report that it works very well, even in Minnamurra St in town, and out on the Fountaindale Rd / Saddleback Mountain climb, both of which have a hills with a 24% gradient!)
Where we have found the e-Boost particularly useful is riding into a strong and constant headwind at the end of a morning ride.
One important tip for new e-Bike riders: Use your gears – the battery and motor are not gear substitutes. If you are riding up a hill with battery boost it is easy to forget that you would have normally clicked down a gear or three for that climb.
Remember, gears make it easier to ride up hills, even with the motor providing an added boost to the regular level of pedaling effort. We try to ride in the gear that we would normally use for an incline (maybe a gear higher) – any battery boost on top of that is a bonus.
Better for the bike, better for you, and probably better for battery life.
Note: Swytch also supply a couple of throttle options (and brake connectors), for powering the bike motor without pedaling. This is not legal on our local public cycleways or roads – and kinda defeats our purpose for cycling!
Battery Range
Swytch claim the MAX battery has a 30km range, when using the ‘default’ settings – whatever the default settings might be!
It is clear from our experience so far that if using the battery the way we are planning on using it we will get a much better range than that – maybe 50 – 60kms (or more) if not going too crazy with the battery. Here is a quick summary of our first few rides….
Test Ride 1 – Minnamurra to Warilla Beach and return (30kms)
Our very first e-Ride! We turned the Swytch kit on when we began the ride at Minnamurra, but left it on Level 0 until Dunmore Hill. Clicked it up to Level 1 for the ride up the hill, and tried it on Level 2 for about 50 metres – out of curiosity, just to see how well it worked.
Certainly made easy work of the hill! (Which may not be a good thing if we are riding to keep fit.)
We rode on to Warilla Beach via Shell Cove, with little use of the e-Boost. Returning to Minnamurra, a stiff south-westerly wind change blew through, and we used Level 1 for the entire return trip. This was a real help – the headwind was strong and constant.
Battery usage – We returned to Minnamurra with no visual decline in battery level – still with five bars on the battery level display.
Test Ride 2 – Gerringong to Berry via Foxground, return via Toolijooa Rd (33kms)
Again, we used as little boost as possible, but there were plenty of hills on this ride, especially on sections of the new highway, and some long climbs on the old highway – we only used the e-Boost for these hills. (The good thing about long hill climbs is that there is almost always a long coast down the other side!)
Battery usage – Returned to Gerringong with no visual decline in battery level – still on five bars.
Test Ride 3 – Pt Kembla Pool to Thirroul Pool & return (56 kms)
This is a relatively flat ride, with a few modest but constant inclines along the way. These are the sort of inclines where, without e-Bike co-riders, we would probably just drop down a couple of gears and do the required work. But pedaling in a group of e-Bikes it is very convenient to click up to Level 1 boost and keep pace with the group. We used it quite a bit, but only for short uphill sections most of the time.
On the return leg we were pedaling into a southerly headwind, so we had a permanent Level 1 e-Boost from WIN stadium through to Port Pool.
Battery usage – Returned to Port Kembla Pool after 56 kms of partially assisted pedaling with four bars of battery level remaining. At this rate we could easily have ridden 100kms and still had battery to spare.
Test Ride 4 – Around Lake Illawarra (42kms)
After the rides above, using the battery only when required (as we plan to do most days), it was time to see how well the battery would last if required for constant use. The Around the Lake ride is relatively flat, but often windy, as it was on the day we rode.
I turned my Swytch boost to Level 1 when we departed Boonerah Point (Mt Warrigal), and left it there for the entire trip. It was certainly useful into the wind, but really felt like overkill for most of the ride.
I even gave it a spin at top speed (32 kmh) into the wind down the freeway from Berkeley to Kanahooka, and also dialled up the speed wherever it was safe to do so, which I expect uses more battery capacity.
Effortless pedalling!
Battery usage – Returning to Boonerah Point after 42 kms of Level 1 boost, I had two bars remaining – and that was after 42 kms of non-stop battery boost.
Test Ride 5 – Around the Lake – Canberra (42km)
The actual cycle path loop around Lake Burley Griffin is around 30km, but we rode from our accommodation, as well as taking a side trip to the National Arboretum for lunch – which has a good hill to climb!
Similar to the Lake Illawarra ride, the path is generally flat, so we rode mostly on Level 0. There were a few inclines where we clicked up to Level 1, but only a few times.
The ride up to the Arboretum cafe is a steep climb, and without the e-Boost we would have been in our lowest gears and up out of the saddle.
We were on Level 2 and Level 3 for the ride up the Arboretum hill.
Battery usage – Returning to our accommodation in O’Connor, after 44 kms of pedaling around the Lake and up to the Arboretum, we had five bars remaining in the visual display.
Test Ride 6 – O’Connor to Mt Rogers, Hall ACT & return (45km)
An undulating ride, mostly on cycle paths, up the Western side of Lake Ginninderra, then to Dunlop and up to Mt Rogers, and on to Hall for Lunch. Returned to O’Connor via Kaleen and Lyneham.
Plenty of ‘casual’ e-Boost on this ride – especially up the Mt Rogers path on Level 2 – but also a lot of Level 0 / Level 1 along the ride. The last few kms involved a gentle uphill climb into the wind (Level 1 boost), returning to our accommodation.
Battery usage – Returning to our accommodation in O’Connor after 45 kms we had four bars of battery capacity remaining.
More local rides: Kiama Bicycle Users Group >>>
Final e-Thoughts
We are very happy with the riding experience provided by the Swytch conversion kit.
We now have e-Boost assistance on long climbs and when pedaling into a constant headwind. But most importantly, we are still using our own pedaling energy most of the time, and we have kept within our Campervan bike-rack load limits,
Although the Swytch advertising talks about adding under 3kgs to the weight of your bike, this would appear to be based on the weight of the smaller ‘Air’ battery and just the motor, sans wheel.
Our original front wheels (with tyre and tube fitted) weighed 1.4kg. The Swytch wheels (including motor, with tyre and tube fitted) weigh 3.6kg, an increase of 2.2kg. The MAX battery weighs 1.2kg, plus we now also carry a small shifting spanner in our tool kit to remove the nuts securing the front wheel axle. So an overall increase in weight of 3.5kg.
Our bikes now each weigh in at 14kg and 16kg respectively, fully loaded with tool kit, frame bags, water bottle, jacket bottle, etc. However, this is still considerably lighter than a dedicated 24kg e-Bike (plus frame bags, bottles and other accessories). When loading the bikes on our car rack we remove the batteries, which is very simple to do (one click) and that saves us another 2.4kg on the rack load. And we can still easily lift the bikes up onto the rack, which is at head level on our van.
Range anxiety is always an issue with anything that is battery powered. So far it hasn’t been an issue for us. I am expecting that we will have a range in excess of 50kms from the MAX battery, given the rides we generally do, and if we only use the battery when absolutely required. (Memo to self – don’t be lazy!)
Recommended?
From a final-use, on-the-road perspective – definitely ….. if you have the time, the know-how and the interest to go down the DIY path, and are prepared to deal with installation issues that may be unique to your particular bike.
For day-to-day use, the Swytch e-Bike conversion kit has ticked all our boxes. It can be used as a temporary ‘boost’ when required, has a good battery range for our needs, and adds only 3.5kg to the weight of our bikes.
However, Swytch could do much better….
-
- Communication, pre-delivery: 4/10
- Shipping and delivery: 5/10
- Communication & support, post-delivery: 1/10
- Installation: 7/10
- Performance of Swytch kit on bike: 9/10
If you would rather skip the DIY route and purchase a ready-made bike with similar e-specs, check out the Merida eSpeeder 400.
Also, if you are pursuing DIY options, the Boost DIY kit might be worth some investigation – it includes a rear wheel hub and no pedal sensor, but has a bottle-style battery (which was a negative for us), and appears to have the on/off controls on the battery.
A few more thoughts – on Swytch support…
And our converted bikes operate really well. However, the one part of our Swytch experience that has been less than stellar has been communications, or lack thereof. All our questions through the Swytch support site have eventually received replies, but it takes days, or even weeks. Granted we are on the other side of the planet to the Swytch support office, and we are typing our support requests during our day time while the UK support team are sleeping, but I would still expect a reply during their next business day. This was of particular concern when our Swytch wheel axle didn’t fit our fork dropouts – the installation manual insists we contact the Swytch support team if faced with this issue. So we contacted the Swytch support team via their website form (which was the only option available) on Wednesday 22nd March, 2023 (AU time). We received an automated response to acknowledge receipt of our correspondence, and to explain that they were very busy, and would get back to us soon. As we were in the middle of the installation process, we needed a reply ASAP. Unfortunately we didn’t receive a reply until Tuesday 2nd April (AU time), a day short of two weeks since our initial support request. And the reply was simply a reference to a video, describing how to do what the installation manual says not to do – file the axle flats. This could have been sent as soon as the support request was received. After waiting patiently for 6 months for the delivery of the kit, we were keen to get it fitted – this last hurdle was a huge anti-climax. Hey guys – we have spanners in hand; tyres are off; tubes are out; we have parts strewn around the workshop; we have waited for ages and are super keen to get this thing going. We need an answer – now! (Not in a two weeks!) If a substantial part of your business is in other time zones, you really should be providing real-time support – even basic support – for customers in those time zones. The Swytch delivery tracking system is also a shocker. These days all online purchases are processed digitally, scanned at each stop on their journey, with their delivery progress regularly updated on a tracking site. Not so with the Swytch kits. We were notified that our order had been received and was ‘in progress’, then again (6 months later) when the assembled kit left their ‘Fulfilment Centre’ – who knows where that even is! The advice with that email provided a one month window for delivery, with no further tracking updates. Then one day, a couple of weeks later it just appeared at our front door. Could do much better! |